The Impact of Water Damage on Drywall and Ceiling Integrity
Water damage is one of the most common and destructive issues homeowners face. In Windsor, Ontario, the seasonal weather changes and occasional heavy rainfall make homes particularly vulnerable. When water seeps into drywall and ceilings, it can cause severe structural and aesthetic problems. At Windsor Drywallers, we understand the importance of addressing water damage quickly and effectively. Here’s what you need to know about how water affects drywall and ceiling integrity and why professional repair is crucial.
How Water Damages Drywall and Ceilings
Drywall and ceilings are made of materials that are highly absorbent, such as gypsum board and plaster. When exposed to water, they quickly soak it up, leading to:
- Swelling and Warping
Water causes drywall to expand and lose its shape, resulting in unsightly bulges or waves. This compromises the smooth, finished appearance of your walls and ceilings. - Sagging Ceilings
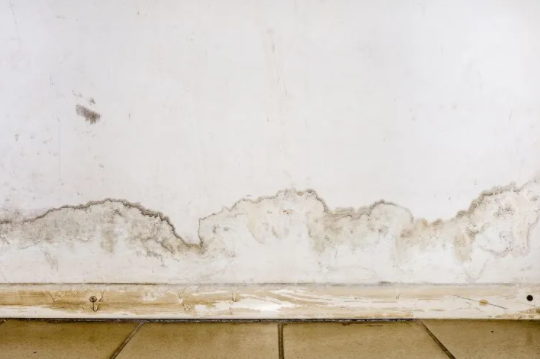
When water collects in the ceiling, it increases the weight and causes the material to sag or buckle. In severe cases, parts of the ceiling may collapse, posing safety risks. - Stains and Discoloration
Even minor water exposure can leave dark stains or discoloration on drywall and ceilings, which can ruin your interior aesthetics. - Mold and Mildew Growth
Damp drywall creates the perfect environment for mold and mildew to thrive. This not only damages your walls but also poses serious health risks, particularly for individuals with respiratory issues. - Weakened Structural Integrity
Prolonged exposure to water can erode the strength of drywall and ceiling materials, increasing the likelihood of cracks, holes, or further collapse.
Common Causes of Water Damage
Understanding the root causes of water damage can help homeowners prevent future issues. Common culprits include:
- Leaky Roofs: Rainwater or snowmelt can seep through damaged roofing materials.
- Plumbing Issues: Burst pipes, leaking fixtures, or clogged drains can lead to water pooling in walls and ceilings.
- Flooding: Heavy rains or basement floods can saturate lower walls and migrate upward.
- HVAC Problems: Poor ventilation or condensation buildup can contribute to moisture damage.
Why Prompt Repairs Are Crucial
Delaying repairs can exacerbate the damage, leading to:
Increased Repair Costs: What begins as a minor repair can escalate into full wall or ceiling replacements.
- Health Risks: Mold and mildew can spread quickly, leading to more extensive remediation efforts.
- Compromised Home Value: Damaged drywall and ceilings diminish the appeal and structural reliability of your property.
Steps for Repairing Water-Damaged Drywall and Ceilings
At Windsor Drywallers, we follow a thorough process to ensure your home is restored to its original condition:
- Inspection and Assessment
We begin by identifying the source of the water damage and assessing the extent of the issue. - Drying and Dehumidification
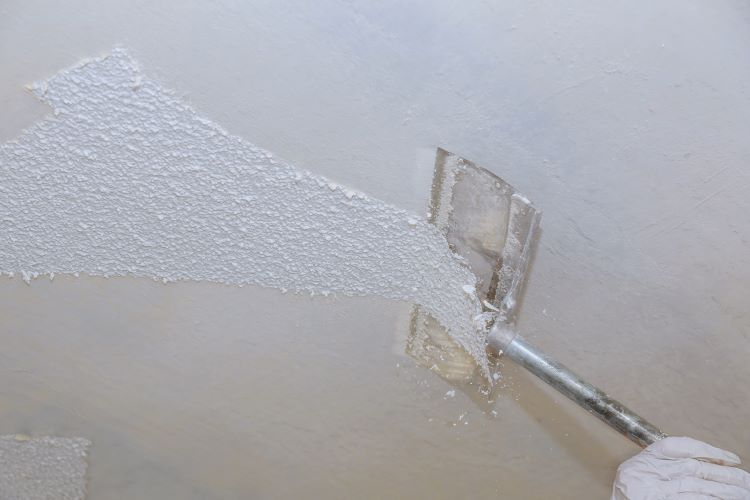
Using specialized equipment, we dry the affected areas to prevent further damage and mold growth. - Removal of Damaged Material
Warped or sagging drywall and ceiling panels are carefully removed and disposed of. - Replacement and Patching
New drywall or ceiling material is installed, and seams are taped and mudded for a seamless finish. - Painting and Finishing
Once the area is repaired, we repaint to match the rest of your interior, ensuring a flawless appearance.
Preventing Future Water Damage
To protect your drywall and ceilings:
- Address Leaks Promptly: Regularly inspect your roof, plumbing, and HVAC systems for signs of trouble.
- Improve Drainage: Ensure proper grading around your home and maintain gutters and downspouts.
- Control Indoor Humidity: Use dehumidifiers and proper ventilation to keep moisture levels in check.
Conclusion
Water damage to drywall and ceilings can have a significant impact on your home’s safety, aesthetics, and value. Addressing these issues quickly with professional help is essential to prevent long-term problems.
At Windsor Drywallers, we specialize in water damage repair and restoration. Our expert team is ready to help you reclaim your space with reliable, high-quality repairs.
Contact us today for a free consultation and let us help you restore your home to its best condition!
You might also like