A Step-by-Step Guide to Finishing Drywall in a Garage

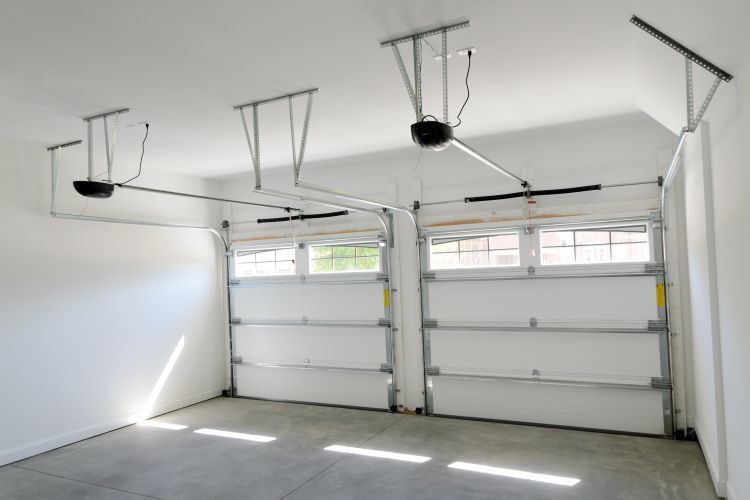
Finishing the drywall in your garage can transform it from a mere storage space into a functional and aesthetically pleasing area. At Windsor Drywallers, we specialize in providing high-quality drywall services that can help you achieve a professional finish in your garage. Whether you’re using the space for parking, as a workshop, or for storage, a well-finished drywall can make a significant difference. Here's a step-by-step guide to help you through the process of finishing drywall in your garage.
Step 1: Gather Your Materials and Tools
Before you start, ensure you have all the necessary materials and tools:
Materials:
- Drywall sheets
- Drywall screws or nails
- Joint tape (paper or mesh)
- Joint compound (mud)
- Corner beads (metal or plastic)
- Primer and paint
Tools:
- Drywall saw or utility knife
- Drill or hammer
- Taping knife
- Mud pan
- Sanding sponge or sandpaper
- Corner trowel
- Ladder or scaffolding
- Measuring tape
Step 2: Prepare the Garage
Clear the Area: Remove any items from the garage that may obstruct your work. Ensure you have a clean, open space to move around.
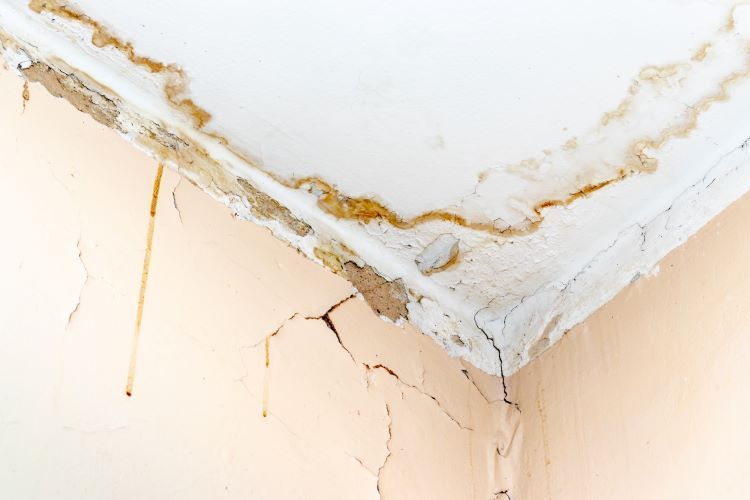
Inspect the Walls: Check for any existing damage or moisture issues. Address these problems before installing new drywall to ensure a solid foundation.
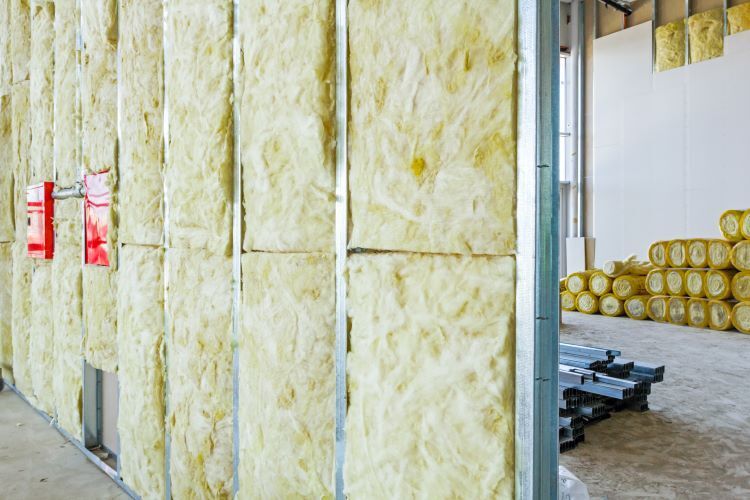
Install Insulation: If your garage is not insulated, consider installing insulation between the studs to improve energy efficiency and soundproofing.
Step 3: Install the Drywall
Measure and Cut: Measure the dimensions of the garage walls and ceiling. Cut the drywall sheets to fit these measurements using a drywall saw or utility knife.
Hang the Drywall: Start with the ceiling if you’re drywalling both the walls and ceiling. Attach the drywall sheets to the studs using drywall screws or nails, placing them every 12 to 16 inches. Ensure the sheets are snug against each other.
Stagger the Seams: Stagger the seams of the drywall sheets to create a stronger structure and prevent cracks.
Step 4: Tape and Mud the Joints
Apply Joint Tape: Cover the seams between drywall sheets with joint tape. If using paper tape, press it into a thin layer of joint compound. If using mesh tape, simply press it onto the seams.
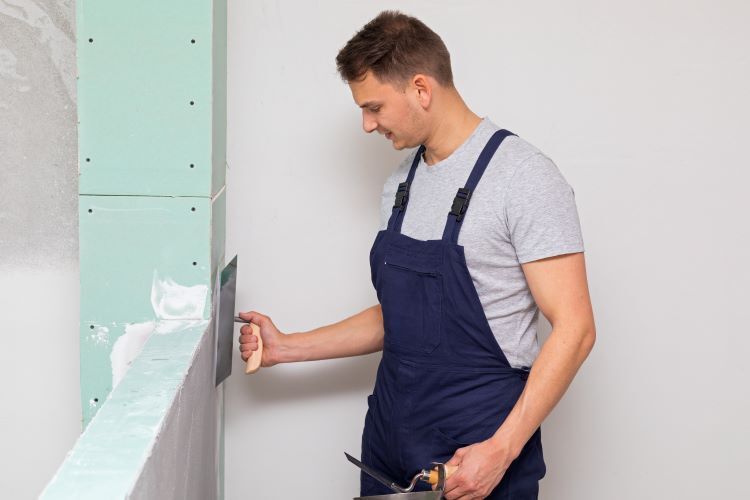
First Coat of Joint Compound: Using a taping knife, apply a thin layer of joint compound over the tape, ensuring it extends a few inches beyond the seam on both sides. Smooth it out as much as possible.
Apply Corner Beads: Install corner beads on all external corners to protect them from damage and create a clean edge. Use joint compound to secure them in place.
Step 5: Apply Additional Coats and Sand
Second and Third Coats: After the first coat of joint compound dries (usually 24 hours), sand it lightly with a sanding sponge or sandpaper to smooth out any ridges. Apply a second coat of joint compound, extending it further out from the seams to blend with the drywall surface. Repeat this process for a third coat if necessary.
Final Sanding: Once the final coat is dry, sand the entire surface to a smooth finish. Be thorough but careful to avoid sanding too much and exposing the joint tape.
Step 6: Prime and Paint
Apply Primer: Apply a coat of drywall primer to seal the drywall and prepare it for painting. Primer helps to cover any imperfections and provides a uniform surface for paint.
Paint: Once the primer is dry, paint the garage walls and ceiling with a high-quality paint of your choice. Consider using a semi-gloss or gloss finish for easier cleaning and durability.
Step 7: Finishing Touches
Inspect and Touch Up: Inspect the finished drywall for any missed spots or imperfections. Touch up as needed with additional joint compound, sanding, and paint.
Reinstall Fixtures: Reinstall any fixtures or shelving that you removed before starting the project. Clean up the work area and dispose of any debris properly.
Conclusion
Finishing drywall in your garage can significantly enhance its functionality and appearance. By following these steps, you can achieve a professional-looking finish that will last for years. At Windsor Drywallers, we are committed to providing top-notch drywall services to help you transform your garage into a space that meets your needs and exceeds your expectations.
Contact Windsor Drywallers today for expert advice and professional drywall services. Let us help you make your garage a space you’ll be proud to use and show off.
Windsor Drywallers is your local expert for all drywall-related services in Windsor, Ontario. From installation to finishing, we are dedicated to delivering excellence in every project. Visit our website or call us for more details.
You might also like


