All You Need to Know About Drywall Installation

Drywall installation is a crucial step in any construction or renovation project, as it forms the foundation for smooth, seamless walls and ceilings. As a trusted local drywall company in Windsor, Ontario, Windsor Drywallers specializes in delivering high-quality drywall installation services tailored to meet the needs of our clients. In this article, we'll provide a detailed overview of the drywall sheet installation process to help you understand the steps involved and achieve professional results in your next project.
- Preparation: Before beginning the installation process, it's essential to prepare the work area and gather the necessary tools and materials. This includes measuring and cutting the drywall sheets to fit the dimensions of the walls or ceilings, ensuring that all electrical outlets, switches, and fixtures are properly marked and accounted for.
- Marking and Layout: Use a pencil and level to mark the layout lines on the studs or ceiling joists, indicating the placement of the drywall sheets. Start from one corner and work your way across the surface, ensuring consistent spacing between sheets and maintaining straight lines for a uniform finish.
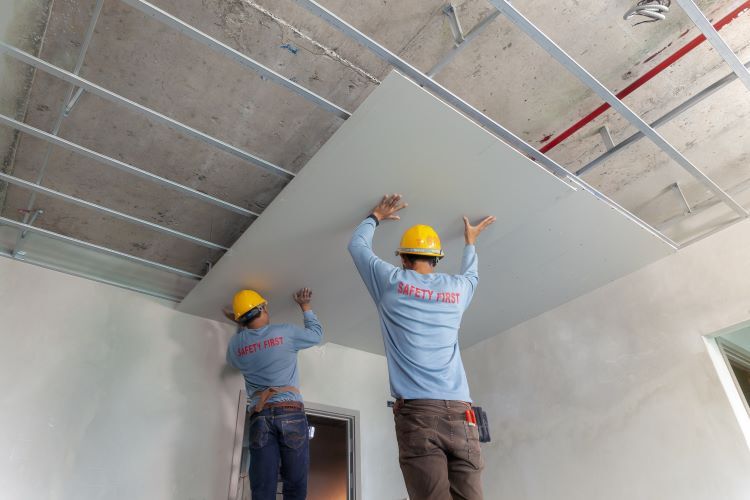
- Hanging the Drywall Sheets: With the layout lines marked, it's time to hang the drywall sheets onto the studs or ceiling joists. Begin by positioning the first sheet against the wall or ceiling, making sure that the tapered edges face inward. Use drywall screws or nails to secure the sheet to the studs or joists, placing fasteners approximately every 12 inches along the edges and every 16 inches in the field.
- Cutting and Fitting: As you progress with the installation, you may encounter obstacles such as windows, doors, or irregular wall shapes that require custom cuts and fitting. Use a drywall saw or utility knife to carefully cut the drywall sheets to size, ensuring precise measurements and smooth edges for a seamless fit.
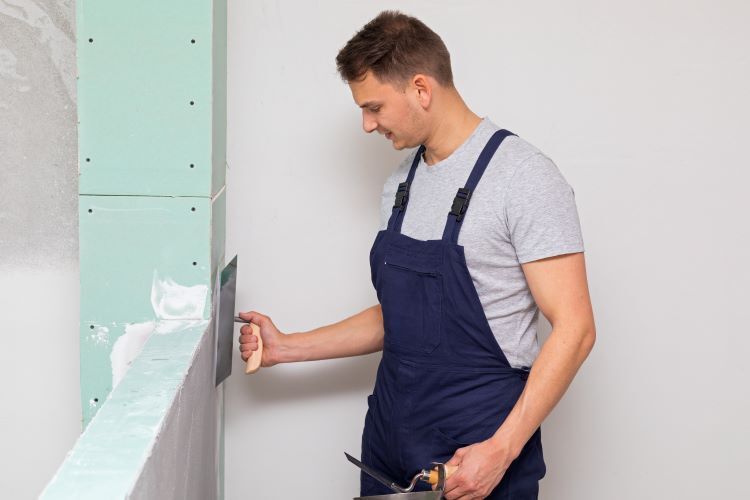
- Taping and Mudding: Once all the drywall sheets are installed, it's time to tape and mud the seams to create a smooth, seamless surface. Apply drywall tape over the joints, pressing it firmly into the wet mud with a drywall knife to create a tight bond. Then, apply multiple coats of joint compound (mud) over the tape, feathering the edges to blend seamlessly with the surrounding surface.
- Sanding and Finishing: After the mud has dried completely, use a drywall sander or sanding block to smooth out any imperfections and create a uniform surface texture. Be sure to remove any dust or debris before applying primer and paint to achieve a professional-quality finish.
- Final Touches: Once the drywall is installed, taped, mudded, sanded, and painted, add any additional trim or molding to complete the look and enhance the aesthetic appeal of the space. Consider installing baseboards, crown molding, or decorative trim to add the finishing touches and achieve a polished, cohesive appearance.
Conclusion:
Drywall sheet installation is a critical component of any construction or renovation project, requiring precision, skill, and attention to detail to achieve professional results. With Windsor Drywallers, you can trust our team of experienced professionals to deliver superior drywall installation services tailored to meet your specific needs. Contact us today to learn more about our drywall services and schedule a consultation for your next project.
You might also like


