Drywall Taping and Mudding: When to Apply the Second Coat

Drywall taping and mudding is a crucial step in achieving a smooth, seamless finish for your walls and ceilings. Whether you're working on a new construction project or making repairs, mastering the proper techniques and knowing when to apply each coat of joint compound is essential for a high-quality finish. One of the most common questions that arises during the drywall finishing process is: When is the right time to apply the second coat of mud?
In this article, we’ll walk you through the importance of the second coat, the timing for application, and some pro tips to ensure that your drywall project looks flawless.
The Role of the Second Coat in Drywall Mudding
Before jumping into when to apply the second coat, it’s important to understand its role in the drywall finishing process. The first coat of mud, or joint compound, is primarily used to embed the tape over the seams between drywall sheets. It fills the gaps and prepares the surface for additional layers. However, the first coat typically isn't enough to create a perfectly smooth surface. That's where the second coat comes in.
The second coat smooths out the rough areas left by the first coat and helps to feather the edges of the drywall tape, making the seams less visible. This coat also allows you to start building up the surface to match the level of the surrounding drywall.
How to Know When It’s Time for the Second Coat
The most critical factor in determining when to apply the second coat of mud is drying time. Applying the second coat too early can result in uneven surfaces, air bubbles, or cracks in the finish. Here are the key things to consider when timing your second coat:
- Ensure the First Coat is Completely Dry
- Drying Time: The first coat of joint compound must be completely dry before applying the second coat. Depending on the type of compound used (all-purpose, lightweight, or setting-type) and the environmental conditions, drying times can vary. On average, it takes about 24 hours for the first coat to dry completely, though it can take longer in high-humidity environments.
- Checking for Dryness: To check if the first coat is ready for the second layer, lightly touch the surface. If it feels cool or damp to the touch, it's not fully dry. The surface should feel dry and hard before you proceed with the second coat.
- Look for Shrinkage and Gaps
- As the first coat dries, you may notice slight shrinkage in the joint compound, especially over larger seams or corners. This is completely normal and is another reason why a second coat is necessary. The second coat will fill in any remaining gaps and provide a more even surface for sanding and finishing.
Applying the Second Coat of Mud
Once you’ve determined that the first coat is completely dry, it’s time to apply the second coat. Here are the steps and best practices to follow for this stage of drywall finishing:
- Sand Lightly Before Applying the Second Coat
- Before applying the second coat, lightly sand the first coat with fine-grit sandpaper (usually 120-150 grit). This step helps smooth out any high spots, ridges, or imperfections. Be gentle, as the goal is to even out the surface, not to sand away the mud entirely.
- Use a Wider Drywall Knife
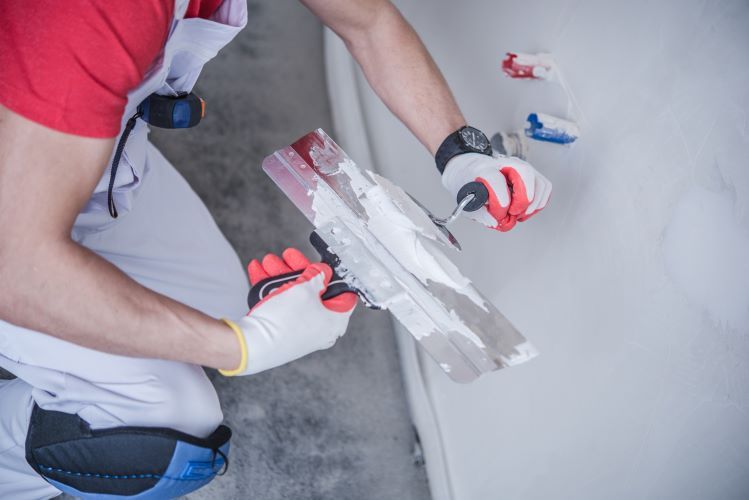
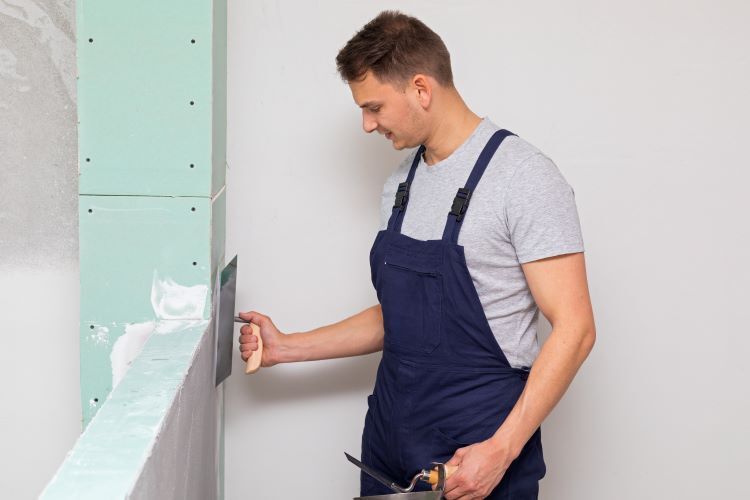
- For the second coat, use a wider drywall knife (10-12 inches) to spread the mud over the seams. This allows you to feather the edges of the compound further, blending it seamlessly with the surrounding drywall. Feathering is crucial to making the seams disappear when the wall is painted.
- Apply Even, Thin Layers
- The second coat should be thinner than the first. Start by applying a moderate amount of joint compound to the seam and spreading it out with smooth, even strokes. Feather the edges by applying less pressure as you move the knife away from the seam. The goal is to blend the seam with the surrounding drywall surface so it’s barely noticeable.
- Let the Second Coat Dry Completely
- Like the first coat, the second coat will need ample time to dry. Depending on the compound used, this can take another 24 hours. During this time, avoid touching or sanding the surface to prevent damaging the still-wet mud.
Common Mistakes to Avoid When Applying the Second Coat
To achieve the best results with your second coat of mud, here are a few common mistakes to watch out for:
- Rushing the Drying Process: Patience is key in drywall mudding. If you apply the second coat before the first is completely dry, it can lead to cracking, bubbles, or poor adhesion. Always check for dryness and err on the side of caution.
- Applying Too Much Mud: It can be tempting to apply a thick second coat to speed up the process, but this often leads to more sanding and potential unevenness. It’s better to apply thinner layers and do additional coats if necessary.
- Not Feathering the Edges: Failing to feather the edges of the second coat can result in visible seams. Use a light touch and wide strokes to ensure a smooth transition from the seam to the drywall.
Final Steps: The Third Coat and Sanding
After the second coat has dried, you’ll likely need to apply a third coat to refine the surface and address any remaining imperfections. The third coat is typically very thin, and a wider knife (12-14 inches) is used to ensure an even finish. Once the final coat is dry, sand the surface lightly to achieve a smooth finish ready for priming and painting.
Conclusion
Drywall taping and mudding is an art that requires precision, timing, and patience. The second coat is a critical part of the process, ensuring that the seams between drywall sheets are smooth, invisible, and ready for finishing. By following the right steps and allowing proper drying times, you’ll create a flawless drywall surface that enhances the overall quality and appearance of your walls and ceilings.
At Windsor Drywallers, we specialize in professional drywall installation and finishing, ensuring your home’s interior looks seamless and polished. If you’re tackling a drywall project and need expert advice or services, don’t hesitate to reach out to our team. We’re here to help you achieve the perfect drywall finish every time.
You might also like


