How to Prepare Your Walls for Drywall Installation
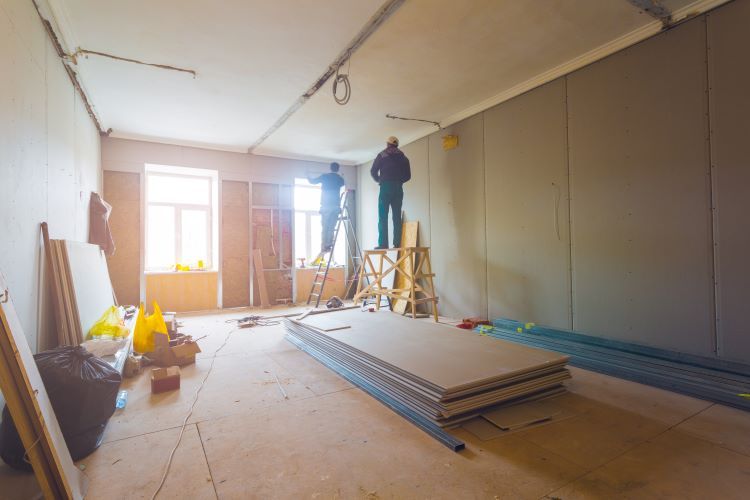
When it comes to home renovation projects, drywall installation is often a key component. Properly preparing your walls for drywall installation ensures a smooth and efficient process, resulting in a high-quality finish. At Windsor Drywallers, we understand that preparation is the foundation of a successful drywall installation. In this article, we will guide you through the steps to prepare your walls for drywall installation, ensuring a professional and durable outcome.
1. Clear the Area
Before you begin preparing your walls for drywall installation, it's essential to clear the area. Remove all furniture, decorations, and any obstructions that could hinder the installation process. This will provide ample space for maneuvering and ensure that the work area is safe and accessible.
2. Inspect the Wall Structure
Thoroughly inspect the wall structure to identify any issues that need to be addressed before installing drywall. Look for damaged studs, loose nails, or any structural weaknesses that could compromise the integrity of the drywall. Repair or replace any damaged components to create a solid foundation for the new drywall.
3. Ensure Proper Insulation and Wiring
Proper insulation and wiring are crucial for the functionality and energy efficiency of your space. If your walls require insulation, ensure that it is properly installed between the studs. Check that all electrical wiring is up to code and securely fastened. Make sure to consult with an electrician if any wiring needs to be adjusted or updated.
4. Install Vapor Barriers
In areas prone to moisture, such as basements and bathrooms, installing a vapor barrier is essential to prevent moisture damage and mold growth. Vapor barriers are typically made of plastic sheeting and are installed over the insulation and framing before the drywall. This extra layer of protection ensures the longevity of your drywall.
5. Mark Stud Locations
Marking the locations of the studs is a critical step in the drywall installation process. Use a stud finder to locate the studs behind the walls and mark their positions with a pencil. This will help you know where to attach the drywall screws, ensuring that the panels are securely fastened to the framing.
6. Gather Necessary Tools and Materials
Having the right tools and materials on hand is essential for a smooth drywall installation process. Gather the following items before you begin:
- Drywall sheets
- Drywall screws or nails
- Drywall saw or utility knife
- T-square or straight edge
- Drywall lift or panel lifter (optional, but helpful)
- Screw gun or drill
- Joint compound and drywall tape
- Sanding tools
7. Measure and Cut Drywall Panels
Accurate measurements are crucial for a seamless drywall installation. Measure the height and width of the walls and cut the drywall panels accordingly. Use a T-square or straight edge to ensure precise cuts. It’s better to cut the panels slightly larger and trim them down if necessary, rather than cutting them too small.
8. Create Cutouts for Outlets and Fixtures
Before installing the drywall panels, create cutouts for electrical outlets, light switches, and other fixtures. Measure the locations of these elements on the wall and transfer the measurements to the drywall panels. Use a drywall saw or utility knife to cut out the openings, ensuring a snug fit around the fixtures.
9. Dry Fit the Panels
Dry fitting the panels before attaching them to the wall allows you to make any necessary adjustments and ensures a proper fit. Position the panels against the wall and check for any gaps or misalignments. Make any needed adjustments before securing the panels in place.
10. Secure the Drywall Panels
Once the panels are properly fitted, begin securing them to the wall. Start by attaching the panels to the top of the wall and work your way down. Use drywall screws or nails to secure the panels to the studs, placing screws every 12-16 inches along the edges and every 16-24 inches in the field. Ensure that the screws are slightly recessed into the drywall without breaking the paper surface.
Conclusion
Proper preparation is key to a successful drywall installation. By following these steps, you can ensure that your walls are ready for the new drywall, resulting in a professional and durable finish.
At Windsor Drywallers, we are committed to providing top-quality drywall installation services to homeowners in Windsor, Ontario. Contact us today to learn more about our services and how we can help you achieve the perfect drywall finish for your home.
You might also like


