How to Prevent and Fix Drywall Cracks

Drywall cracks are a common issue that many homeowners encounter, often causing frustration and concern. These cracks can appear for various reasons, including settling of the foundation, temperature changes, humidity fluctuations, or even improper installation. In this article, we'll explore how you can prevent and fix drywall cracks with the expertise of Windsor Drywallers, serving the Windsor, Ontario area.
Preventing Drywall Cracks:
- Proper Installation: Ensure that drywall is installed correctly by experienced professionals like Windsor Drywallers. Proper installation techniques can minimize the risk of cracks forming due to structural issues or poor workmanship.
- Foundation Maintenance: Keep an eye on the foundation of your home and address any settling or shifting promptly. Proper foundation maintenance can help prevent structural issues that may lead to drywall cracks over time.
- Humidity Control: Maintain consistent indoor humidity levels to prevent the expansion and contraction of drywall materials. Use a dehumidifier in damp areas of your home and ensure proper ventilation to reduce moisture buildup.
- Temperature Regulation: Fluctuations in temperature can cause drywall to expand and contract, leading to cracks over time. Keep indoor temperatures stable and avoid extreme temperature changes whenever possible.
- Avoiding Impact: Minimize the risk of drywall damage by avoiding impacts from furniture, doors, or other objects. Use caution when moving large items to prevent accidental damage to your walls.
Fixing Drywall Cracks:
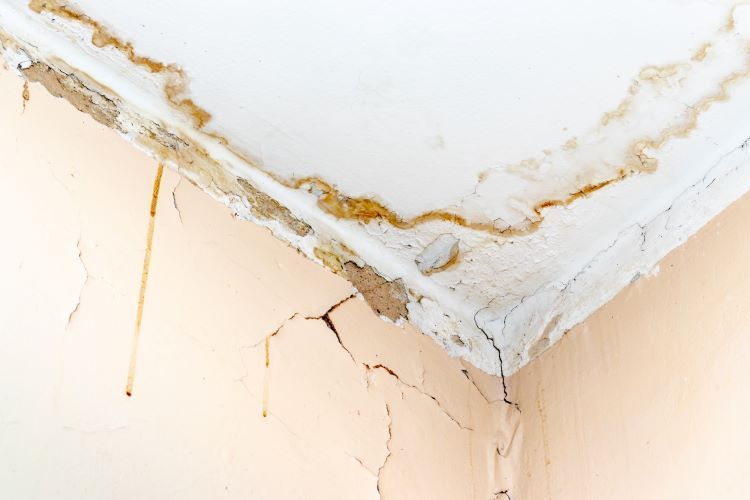
- Assess the Damage: Before repairing drywall cracks, assess the extent of the damage to determine the appropriate course of action. Minor hairline cracks may only require cosmetic repairs, while larger or structural cracks may require more extensive repairs.
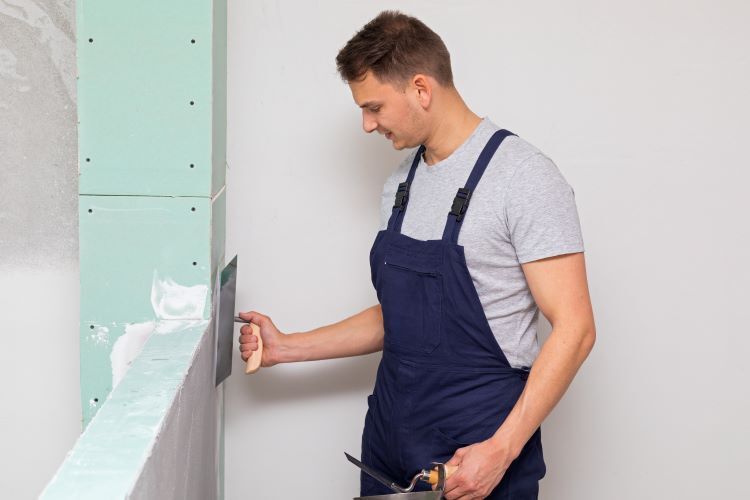
- Fill and Sand: For minor cracks, use a joint compound or spackling paste to fill in the damaged area. Apply the compound with a putty knife, smooth it out, and allow it to dry completely. Once dry, sand the area smooth using fine-grit sandpaper.
- Apply Drywall Tape: For larger cracks or those extending along seams, apply drywall tape over the damaged area before filling it with joint compound. This helps reinforce the repair and prevents the crack from reappearing.
- Prime and Paint: After the repaired area has dried completely, prime the surface to ensure proper adhesion of the paint. Once the primer has dried, paint the area to match the surrounding walls for a seamless finish.
- Seek Professional Help: For significant or recurring drywall cracks, it's best to enlist the help of professionals like Windsor Drywallers. They can assess the underlying cause of the cracks and provide long-lasting solutions to prevent future issues.
By taking proactive measures to prevent drywall cracks and addressing them promptly when they occur, you can maintain the integrity and appearance of your walls. For expert drywall repair and installation services in the Windsor, Ontario area, trust Windsor Drywallers to deliver exceptional results. Contact us today to schedule a consultation and learn more about how we can assist you with your drywall needs.
You might also like


