How to Repair Drywall Around Windows and Doors

Drywall damage around windows and doors is a common issue faced by homeowners. This damage can be caused by a variety of factors including settling of the house, moisture infiltration, or accidental impacts. Repairing drywall around these areas is crucial to maintain the aesthetic appeal and structural integrity of your home. At Windsor Drywallers, we understand the importance of proper drywall repair and are here to guide you through the process. Here’s a step-by-step guide on how to repair drywall around windows and doors.
Step 1: Assess the Damage
Before you begin any repairs, it’s essential to assess the extent of the damage:
- Cracks and Small Holes: These are typically caused by the settling of the house and can be easily fixed with some joint compound and sanding.
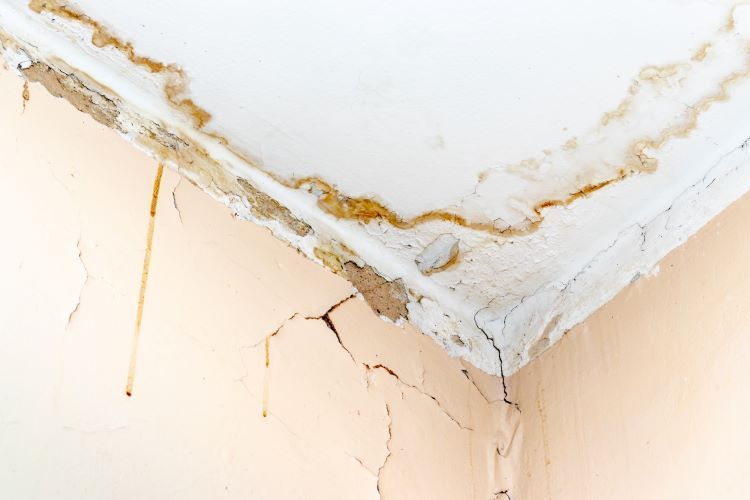
- Larger Holes and Water Damage: Larger holes or areas with water damage will require more extensive repairs and possibly the replacement of the damaged drywall.
Step 2: Gather the Necessary Tools and Materials
Having the right tools and materials will make the repair process smoother and more efficient. Here’s what you’ll need:
- Utility knife
- Drywall saw
- Measuring tape
- Drywall tape (mesh or paper)
- Joint compound
- Drywall screws
- Drywall panels
- Sanding sponge or sandpaper
- Putty knife
- Primer and paint (if needed)
Step 3: Prepare the Area
Proper preparation is key to a successful repair:
- Protect the Area: Lay down drop cloths or plastic sheets to protect the surrounding area from dust and debris.
- Cut Away Damaged Drywall: Use a utility knife or drywall saw to cut away the damaged drywall. Cut a clean, straight line around the damaged area to make it easier to fit a new piece of drywall.
Step 4: Measure and Cut the New Drywall
Accurate measurements are crucial for a seamless repair:
- Measure the Opening: Measure the dimensions of the hole or damaged area.
- Cut the Drywall: Transfer the measurements to a new piece of drywall and cut it to size using a utility knife or drywall saw. Ensure that the new piece fits snugly into the opening.
Step 5: Install the New Drywall
Securing the new drywall piece is the next step:
- Position the Drywall: Fit the new drywall piece into the opening.
- Secure with Screws: Use drywall screws to secure the new piece to the wall studs. Place screws every 6-8 inches around the perimeter of the new drywall piece to ensure it is firmly attached.
Step 6: Tape and Apply Joint Compound
Taping and applying joint compound will create a smooth and seamless finish:
- Apply Drywall Tape: Place drywall tape over the seams where the new drywall meets the existing wall. Use mesh tape for larger gaps and paper tape for smaller seams.
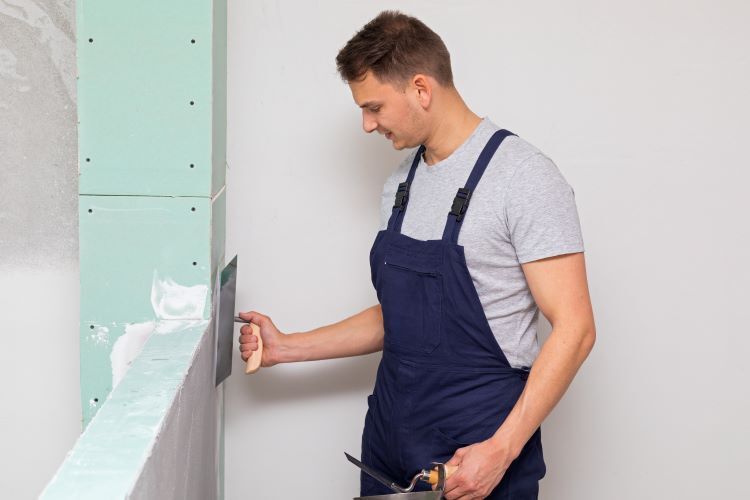
- Apply Joint Compound: Using a putty knife, apply a thin layer of joint compound over the tape. Smooth it out to blend with the surrounding wall. Allow it to dry completely.
- Sand and Repeat: Once the joint compound is dry, sand it smooth. Apply additional coats of joint compound as needed, sanding between each coat until the surface is smooth and level with the surrounding wall.
Step 7: Prime and Paint
The final step is to prime and paint the repaired area:
- Apply Primer: Apply a coat of primer to the repaired area to ensure even paint coverage.
- Paint the Area: Once the primer is dry, paint the area to match the rest of the wall. You may need to apply multiple coats for full coverage.
Preventing Future Damage
To prevent future damage to drywall around windows and doors, consider the following tips:
- Check for Leaks: Regularly inspect windows and doors for any signs of leaks or moisture infiltration and address them promptly.
- Maintain Caulking: Ensure that caulking around windows and doors is intact and reseal any gaps or cracks as needed.
- Handle Doors and Windows Carefully: Avoid slamming doors and windows to prevent impact damage to the surrounding drywall.
When to Call a Professional
While small repairs can often be handled by homeowners, there are times when calling a professional is the best option:
- Extensive Damage: If the damage is extensive or involves structural issues, a professional drywall repair service like Windsor Drywallers can ensure the job is done correctly.
- Water Damage: Water damage can lead to mold and other issues that require professional remediation.
- Time Constraints: If you don’t have the time or tools to handle the repair, hiring a professional can save you time and ensure a high-quality result.
Why Choose Windsor Drywallers?
At Windsor Drywallers, we have the experience and expertise to handle all your drywall repair needs. Our team of skilled professionals is dedicated to providing high-quality workmanship and exceptional customer service. Whether you need minor repairs or extensive restoration, we’re here to help.
Contact Us Today
If you’re dealing with damaged drywall around windows and doors, don’t hesitate to contact Windsor Drywallers. We offer comprehensive drywall repair services to ensure your home looks its best. Contact us today to schedule a consultation and learn more about how we can assist you with your drywall repair needs.
Proper drywall repair around windows and doors is essential for maintaining the beauty and integrity of your home. With the right tools, materials, and techniques, you can achieve professional-quality results. For more complex repairs, trust the experts at Windsor Drywallers to get the job done right.
You might also like


Book a Service Today
We will get back to you as soon as possible
Please try again later
Windsor Drywallers
Navigation
Navigation
Working hours
- Mon - Fri
- -
- Sat - Sun
- Appointment Only
*This is a referral website. All work is performed by professional, licensed contractors.