The Process of Drywall Finishing

Drywall finishing is a crucial step in creating smooth, beautiful walls and ceilings in any home or commercial building. At Windsor Drywallers, we understand that a well-finished drywall not only enhances the aesthetics of your space but also contributes to its durability and functionality. In this article, we’ll take you through the drywall finishing process, highlighting the steps involved and why professional finishing is essential for achieving flawless results.
Step 1: Taping the Joints
The first step in the drywall finishing process is taping the joints. This involves applying a special tape to the seams where drywall panels meet. Here’s how it’s done:
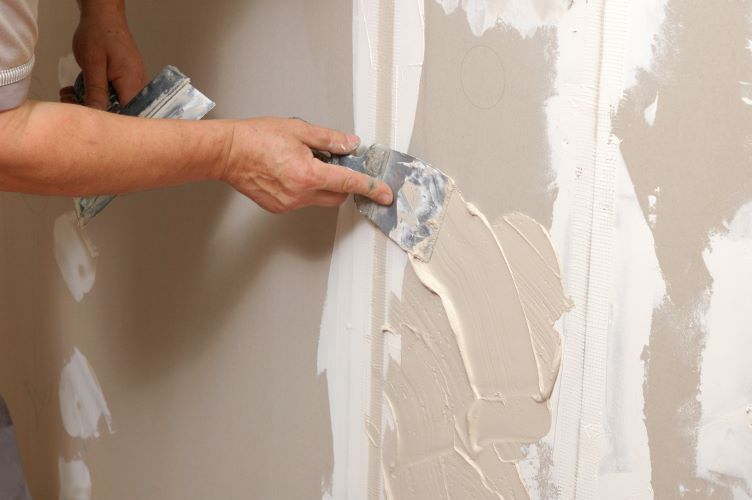
- Apply Joint Compound: A thin layer of joint compound, also known as mud, is applied over the seams.
- Place the Tape: Drywall tape is then embedded into the wet joint compound. This tape can be made of paper or fiberglass mesh.
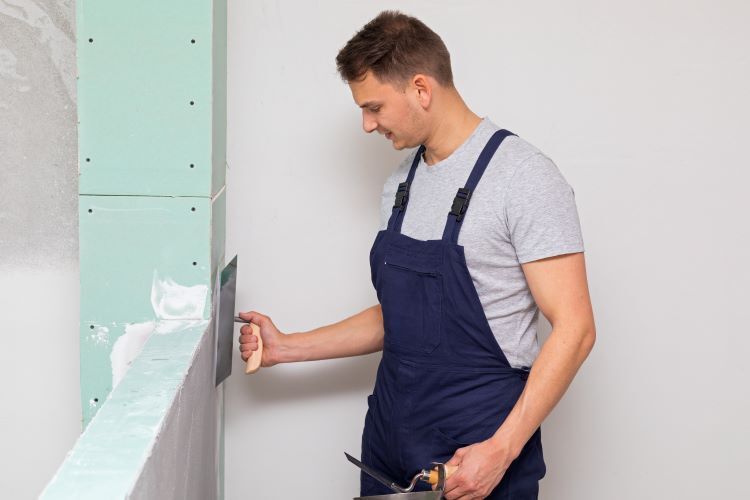
- Smooth the Tape: Using a drywall knife, the tape is smoothed out to remove any bubbles or wrinkles, ensuring a flat surface.
Step 2: Applying the First Coat of Joint Compound
Once the tape is in place, the first coat of joint compound is applied:
- Cover the Tape: A wider layer of joint compound is spread over the taped seams, covering the tape completely.
- Feather the Edges: The edges of the compound are feathered out to blend smoothly with the drywall surface.
- Fill Screw Holes: Any screw or nail holes are also filled with joint compound at this stage.
Step 3: Sanding the First Coat
After the first coat of joint compound has dried, it needs to be sanded:
- Smooth the Surface: Using fine-grit sandpaper, the surface is lightly sanded to remove any ridges or bumps.
- Check for Imperfections: The surface is inspected for any remaining imperfections that need to be addressed.
Step 4: Applying the Second Coat of Joint Compound
The second coat of joint compound is then applied:
- Wider Application: This coat is applied over a wider area, extending beyond the first coat to further smooth and blend the seams.
- Feather the Edges: As with the first coat, the edges are feathered to ensure a seamless transition with the drywall surface.
Step 5: Sanding the Second Coat
Once the second coat has dried, it’s time for another round of sanding:
- Smooth and Inspect: The surface is sanded again to achieve a smooth finish, and any remaining imperfections are addressed.
- Final Check: A final check is done to ensure the surface is ready for the final coat.
Step 6: Applying the Final Coat of Joint Compound
The third and final coat of joint compound is applied to achieve a perfect finish:
- Even Application: This coat is applied evenly over a broader area, focusing on achieving a completely smooth and even surface.
- Final Feathering: The edges are feathered out once more to ensure a flawless blend with the drywall surface.
Step 7: Final Sanding and Inspection
The last step involves final sanding and inspection:
- Fine Sanding: Using very fine-grit sandpaper, the surface is given a final sanding to achieve a perfectly smooth finish.
- Thorough Inspection: The entire surface is inspected to ensure there are no remaining imperfections.
Why Professional Drywall Finishing Matters
Professional drywall finishing is essential for several reasons:
- Flawless Appearance: Expert finishing ensures a smooth, seamless surface that enhances the overall look of your walls and ceilings.
- Durability: Proper finishing helps to prevent cracks and other issues, ensuring the longevity of your drywall.
- Time and Cost Efficiency: Professionals have the skills and tools to complete the job efficiently, saving you time and potential costs from mistakes.
At Windsor Drywallers, we pride ourselves on delivering top-quality drywall finishing services. Our experienced team ensures that every project is completed to the highest standards, providing you with beautiful, durable walls and ceilings. Contact us today to learn more about our drywall finishing services and how we can help transform your space.
You might also like


