Things to Consider When Removing Popcorn Ceilings
Popcorn ceilings, also known as acoustic or textured ceilings, were popular in the mid-20th century for their ability to hide imperfections and provide sound insulation. However, many homeowners today prefer a smoother, more modern look. If you're considering removing your popcorn ceiling, there are several important factors to take into account. Windsor Drywallers, your trusted local drywall company in Windsor, Ontario, is here to guide you through the process.
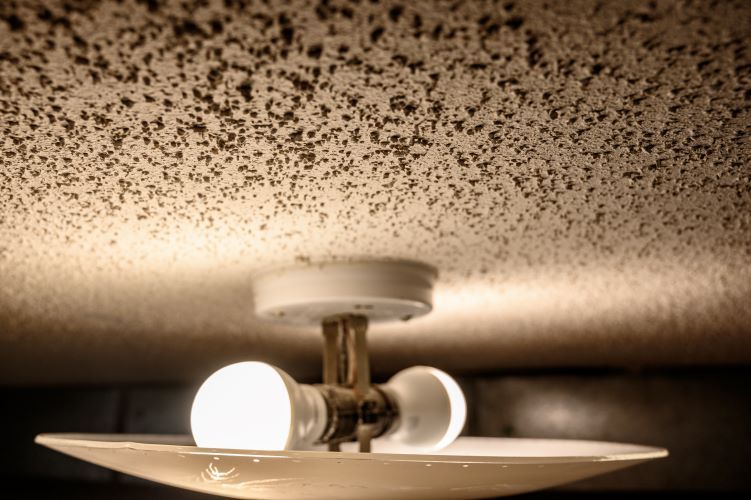
Assessing the Condition of Your Ceiling
1. Asbestos Testing
One of the most critical steps before removing a popcorn ceiling is to test for asbestos. Popcorn ceilings installed before the 1980s often contain asbestos, a hazardous material that can cause serious health issues if disturbed. Hire a professional to test a small sample of your ceiling. If asbestos is present, you'll need to hire a licensed asbestos abatement contractor to safely remove it.
2. Lead Paint Testing
In addition to asbestos, it's important to test for lead paint, especially in homes built before 1978. Disturbing lead paint can release harmful particles into the air, posing health risks. Similar to asbestos, if lead paint is detected, professional remediation is necessary.
Preparing the Space
3. Clearing the Room
Removing a popcorn ceiling can be a messy job. Clear the room of all furniture, decorations, and fixtures. Cover any items that cannot be removed with plastic sheeting to protect them from dust and debris.
4. Protecting Floors and Walls
Protect your floors and walls by covering them with plastic sheeting or drop cloths. Tape the edges securely to prevent dust and debris from spreading.
5. Ventilation and Safety Gear
Ensure proper ventilation in the room by opening windows and using fans. Wear safety gear, including a dust mask, goggles, and gloves, to protect yourself from dust and debris.
The Removal Process
6. Softening the Texture
The easiest way to remove a popcorn ceiling is to soften the texture with water. Use a garden sprayer to lightly mist the ceiling with water, allowing it to soak in for about 15 minutes. Be careful not to over-saturate the ceiling, as this can damage the drywall underneath.
7. Scraping the Ceiling
Once the texture is softened, use a wide putty knife or ceiling scraper to gently scrape away the popcorn texture. Work in small sections, being careful not to gouge the drywall. If the texture does not come off easily, reapply water and wait a few more minutes before continuing.
8. Smoothing the Surface
After the popcorn texture is removed, you'll likely be left with a rough surface. Use joint compound to patch any holes or imperfections in the drywall. Once the compound is dry, sand the entire ceiling to create a smooth, even surface.
Finishing Touches
9. Priming and Painting
Before painting, apply a primer to the ceiling to ensure a uniform finish. Once the primer is dry, apply your chosen paint color using a roller with an extension handle. Two coats are usually recommended for the best coverage.
10. Cleaning Up
After the ceiling is painted and dried, remove the plastic sheeting and drop cloths. Vacuum and wipe down surfaces to remove any remaining dust and debris. Replace the furniture and fixtures, and enjoy your newly updated ceiling.
When to Hire a Professional
While removing a popcorn ceiling can be a DIY project, it can also be time-consuming and labor-intensive. Consider hiring a professional if:
- Your ceiling contains asbestos or lead paint.
- You have a large area to cover.
- You prefer a flawless finish without the hassle.
Removing a popcorn ceiling can significantly enhance the look and feel of your home. By considering factors such as asbestos and lead paint, preparing your space, and following the proper removal process, you can achieve a smooth, updated ceiling.
For homeowners in Windsor, Ontario, Windsor Drywallers is here to provide professional assistance, ensuring your popcorn ceiling removal is done safely and efficiently. Contact us today for a consultation and let us help you transform your home.
You might also like


