Basement Drywall Finishing Techniques for a Seamless Look

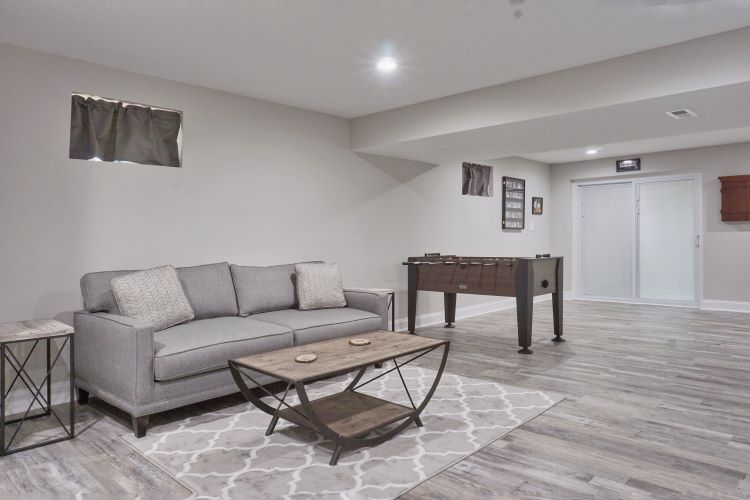
Finishing your basement can add valuable living space and increase the overall comfort and functionality of your home. However, achieving a seamless, professional finish in a basement requires specific drywall techniques to ensure durability, aesthetic appeal, and long-lasting results.
At Windsor Drywallers, we’ve helped homeowners across Windsor, Ontario, turn unfinished basements into beautiful, functional spaces. In this article, we’ll explore the key techniques used in basement drywall finishing to ensure a seamless, polished look that adds value to your home.
1. Proper Framing and Insulation: The Foundation of a Smooth Finish
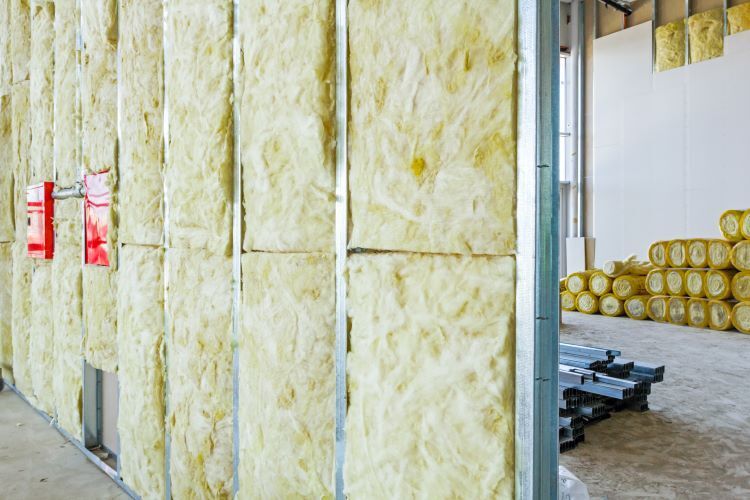
Before you start hanging drywall, it’s essential to ensure the framing and insulation are done correctly. A solid frame ensures that the drywall sheets are evenly supported, preventing uneven surfaces and cracks. Proper insulation is also crucial in basements, as it helps regulate temperature and humidity, preventing moisture buildup and mold growth.
- Tip: Use moisture-resistant insulation materials to protect your basement walls from potential water damage.
2. Using Moisture-Resistant Drywall for Durability
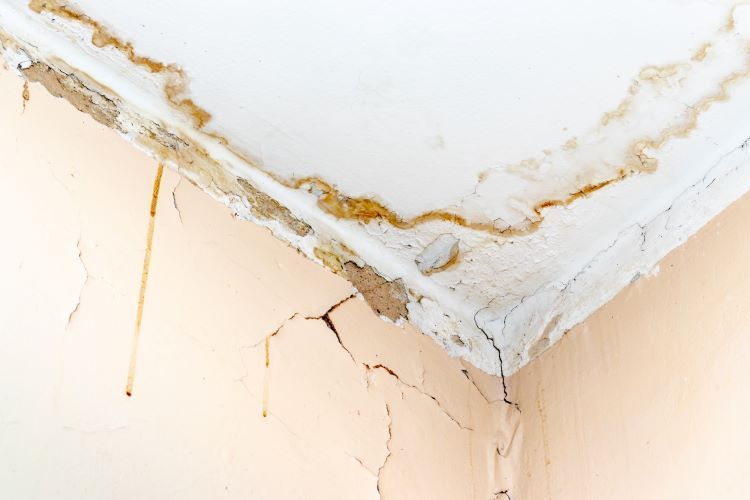
Basements are more prone to moisture issues than other parts of the house. To prevent future problems like mold and mildew, we recommend using moisture-resistant drywall, also known as green board or purple board, in basement projects. This type of drywall is treated to resist moisture, making it an excellent choice for areas like basements where humidity levels can fluctuate.
- Tip: Installing a vapor barrier behind the drywall can add an extra layer of protection against moisture.
3. The Art of Taping and Mudding for Smooth Joints
Once the drywall is installed, the next step is to hide the seams between the sheets using taping and mudding. This process is essential for creating a seamless look, as it smooths out the joints and creates a continuous surface across the walls.
- Taping: Start by applying drywall tape along the seams where two sheets meet. Paper tape or mesh tape can be used, but paper tape is often preferred for its strength.
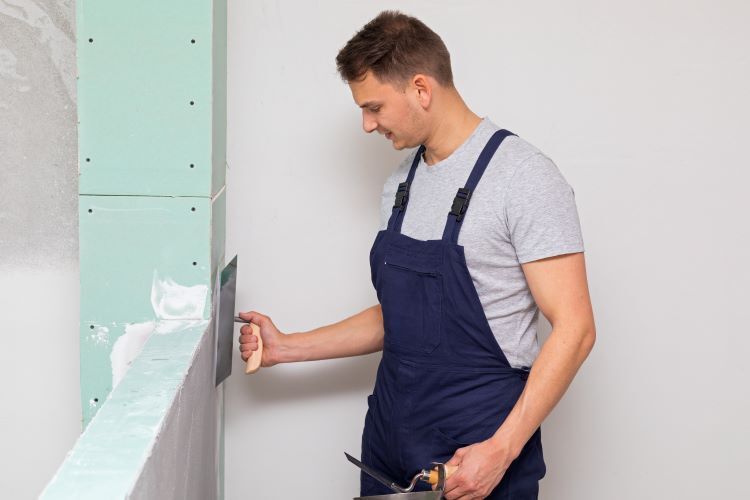
- Mudding: Apply a thin layer of joint compound, or "mud," over the tape, smoothing it out with a drywall knife. The first coat should be light, with additional coats added to build up the surface and blend the seams. Three coats are typically enough to ensure a smooth finish.
- Tip: Sanding between each coat is essential for achieving a smooth and professional-looking surface. Use fine-grit sandpaper to remove any imperfections and create a flawless finish.
4. Corner Beads for Clean, Sharp Edges
To achieve crisp, straight lines at the corners of your walls, corner beads are essential. These metal or plastic strips are applied to the corners before mudding to protect the edges of the drywall and create a sharp, clean finish. Corner beads are especially important in high-traffic areas like basements, as they help protect against damage.
- Tip: Choose metal corner beads for durability, especially in basements where the walls may face more wear and tear.
5. Sanding for a Flawless Finish
Sanding is one of the most important steps in achieving a seamless drywall finish. After the final coat of mud has dried, sanding ensures the surface is smooth and free of any imperfections. Start with a coarse grit sandpaper and gradually move to a finer grit for a perfect finish.
- Tip: Be careful not to oversand, as this can expose the tape underneath and lead to uneven textures. Use a light touch and check your progress frequently.
6. Prime and Paint for a Finished Look
Once your drywall is mudded and sanded to perfection, it’s time to apply a primer. Priming is essential because it seals the drywall and prepares it for paint. Without a primer, the paint may not adhere properly or could appear uneven.
- Tip: For basements, consider using a mold-resistant primer to provide extra protection against moisture.
After priming, you can apply your chosen paint color. Lighter colors can help brighten up a basement space and make it feel larger, while darker tones can create a cozy atmosphere.
7. Texture or Smooth Finish: Your Choice
When finishing a basement, you can choose between a smooth finish or adding texture to the walls. A smooth finish offers a clean, modern look, while a textured finish can add depth and character to the space.
- Tip: Consider the overall aesthetic of your home when deciding on texture. A smooth finish is ideal for a sleek, contemporary look, while textures like knockdown or orange peel can give your basement a more traditional feel.
Why Professional Finishing Matters
While DIY drywall finishing may seem tempting, achieving a professional look requires experience and precision. Small mistakes during the taping, mudding, or sanding process can result in visible seams, bumps, or uneven surfaces that detract from the overall appearance of your basement.
At Windsor Drywallers, our team of experts ensures that every step of the drywall finishing process is done with care and attention to detail. We use the best materials, techniques, and equipment to give your basement walls a seamless, durable finish that will last for years to come.
Conclusion
Basement drywall finishing is a key step in transforming your basement into a functional and beautiful living space. By following the right techniques, from framing and insulation to mudding, sanding, and painting, you can achieve a seamless, professional finish that enhances the overall value of your home.
If you're looking to finish your basement or improve your existing drywall, Windsor Drywallers is here to help. Contact us today to discuss your project and discover how we can bring your basement vision to life with expert drywall finishing services.
You might also like


